When to use this
How to inspect the LED Race Clock and verify that it is operating correctly.
Steps
-
Begin with the rear housing open and the display panel supported.
-
Power on now
Reconnect power only for the indicator-light checks. Do not touch internal components while powered.
-
Locate the power supply and confirm that its green indicator light is on.
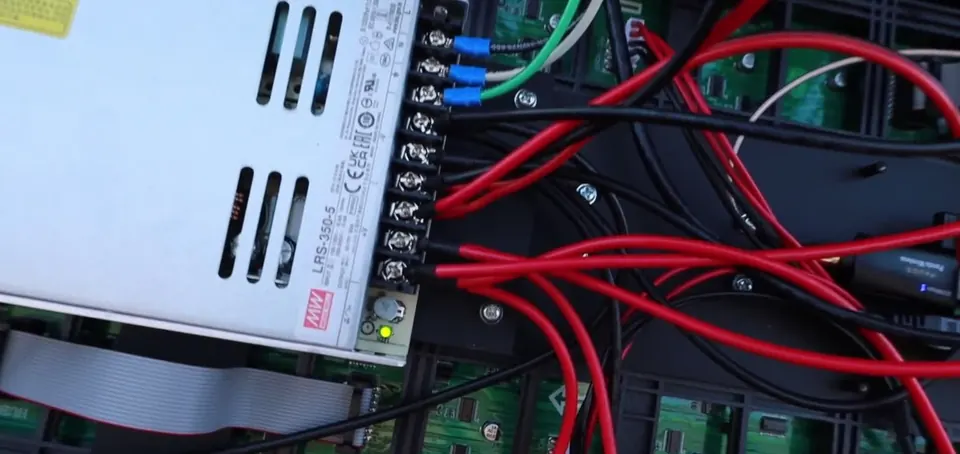
Power-supply indicator -
Locate the Raspberry Pi. Confirm the red and green indicator lights are on and watch for green-light activity.
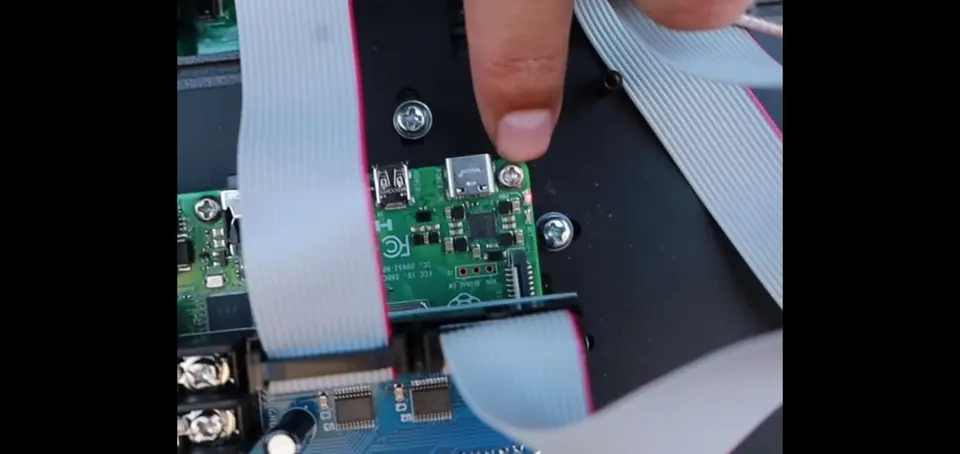
Raspberry Pi indicators -
Power off now
Turn the clock off and disconnect electrical power before touching any connection.
-
Check each cable connection. Look for plugs that are not fully seated or appear loose.
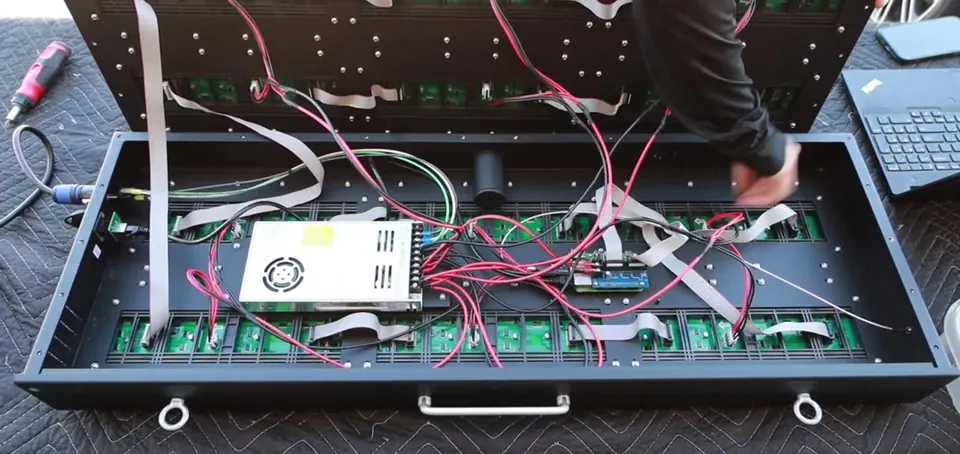
Cable-connection inspection -
Continue across the lower clock body and the raised display panel until every visible cable connection has been checked.
-
With power disconnected, gently tighten any loose mounting screws. Do not overtighten.
-
Carefully lower the display panel back into position.
Important
- The powered portion is visual only.
- Power off before cable or screw work.
Check when done
Power-supply and Raspberry Pi indicators are visible during the powered check; connections and mounting screws are secure with power disconnected.
Still not working?
Email support@finishedresults.com. Tell us you completed procedure 03 and what you saw when you checked your work. Replacement parts are ordered the same way.