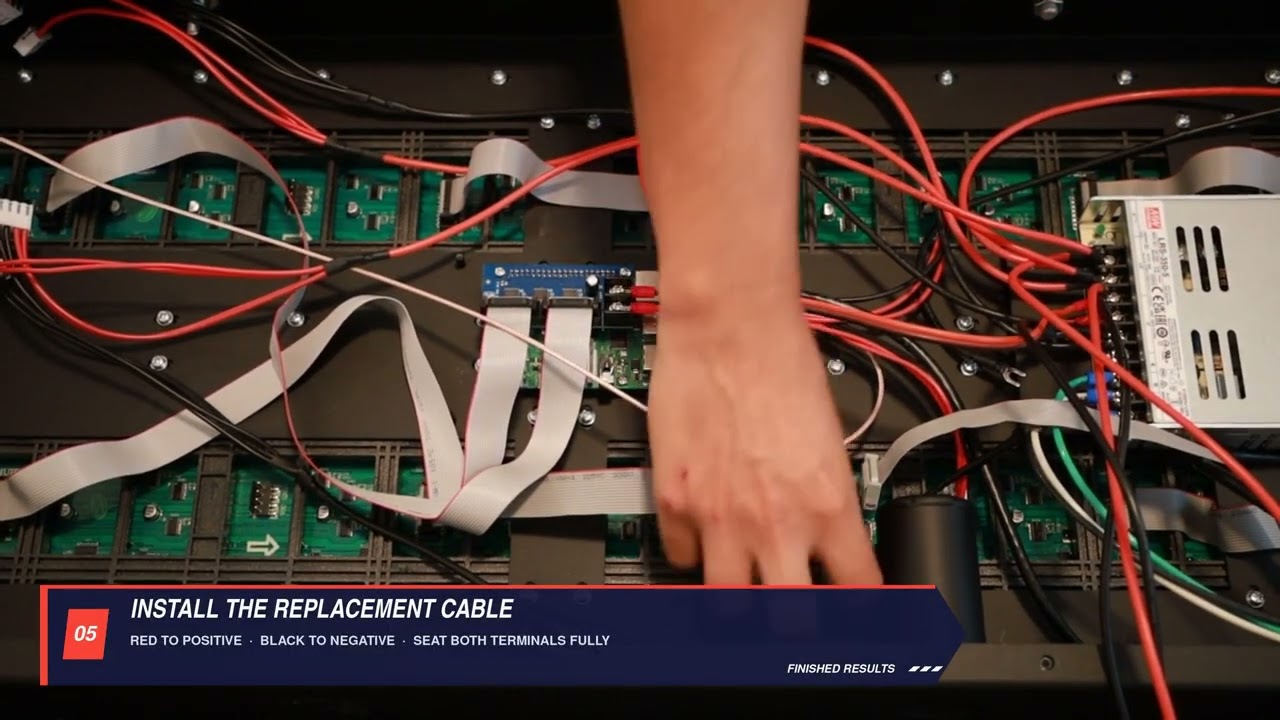
When to use this
Replace the cable if it is damaged or is not supplying power to the LED module.
Steps
-
Press the locking clip on the LED module power connector and pull the connector straight out of the module.
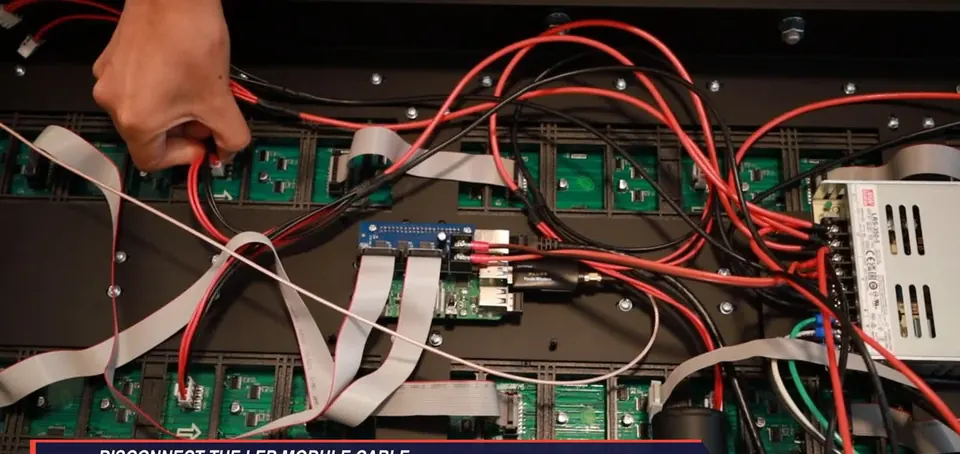
Release the locking connector -
Trace the cable's red and black wires to the power supply and confirm the correct wire pair.
-
Loosen the two terminal screws that secure these wires. Do not remove the screws from the terminal block.
-
Remove the red and black fork terminals from the power supply.
-
Position the replacement cable at the power supply.
-
Insert the red fork terminal into the labeled positive terminal and the black fork terminal into the labeled negative terminal.
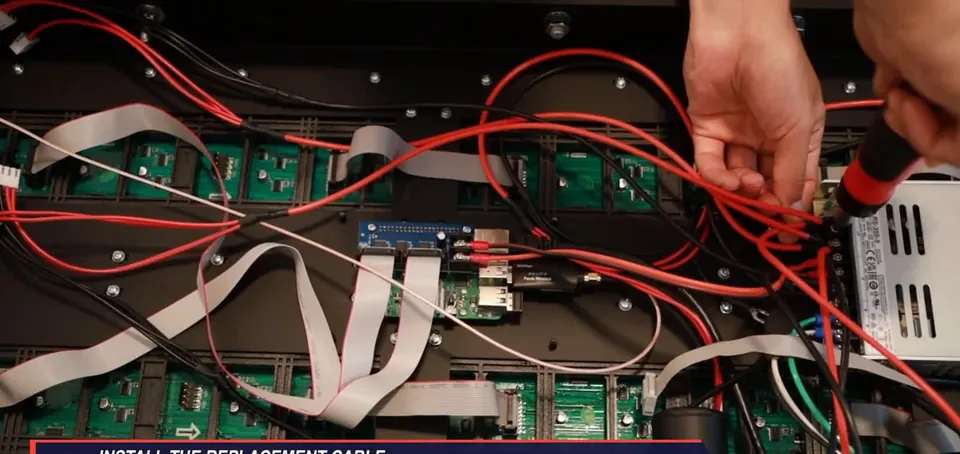
Red positive; black negative -
Seat both fork terminals fully beneath the screw clamps. A partially seated terminal can cause a loose connection.
-
Tighten both terminal screws until firm. Do not overtighten.
-
Reconnect the cable to the LED module until it is fully seated and the locking clip engages.
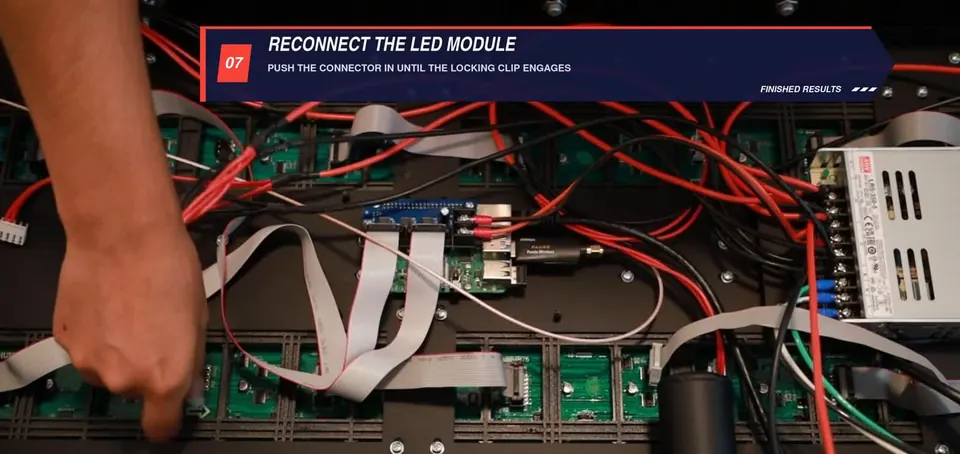
Reconnect until the clip engages
Important
- Red fork terminal: positive.
- Black fork terminal: negative.
- Loosen terminal screws; do not remove them.
Check when done
Both fork terminals are fully captured beneath the screw clamps, polarity is correct, and the LED-module connector is seated with its locking clip engaged.
Still not working?
Email support@finishedresults.com. Tell us you completed procedure 09 and what you saw when you checked your work. Replacement parts are ordered the same way.