When to use this
How to check the voltage, verify that the correct voltage is selected, and adjust the voltage setting if needed.
Steps
-
Power on now
Turn on the LED Race Clock.
-
Set the multimeter to DC volts before placing the probes near the power supply.
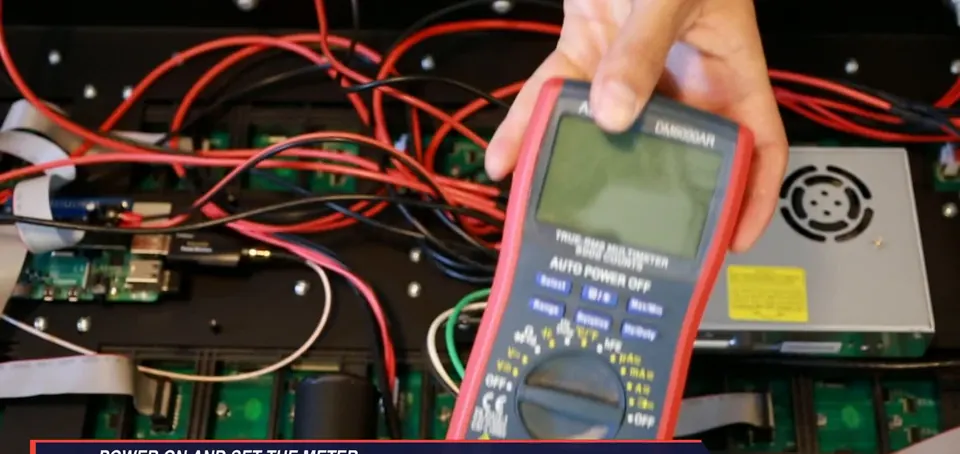
Set the multimeter to DC volts -
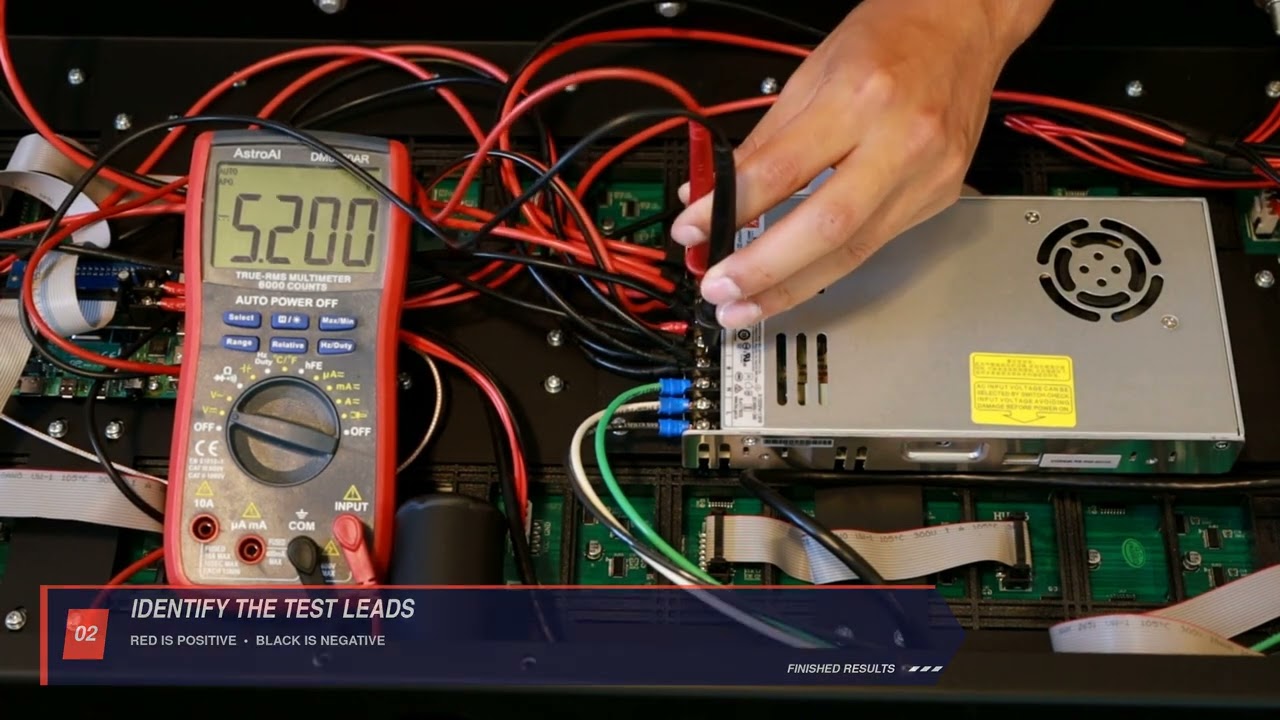
Identify the test leads: red is positive and black is negative.
-
Keep your fingers behind the insulated probe guards throughout the test.
-
Place the red probe on a positive DC output terminal.
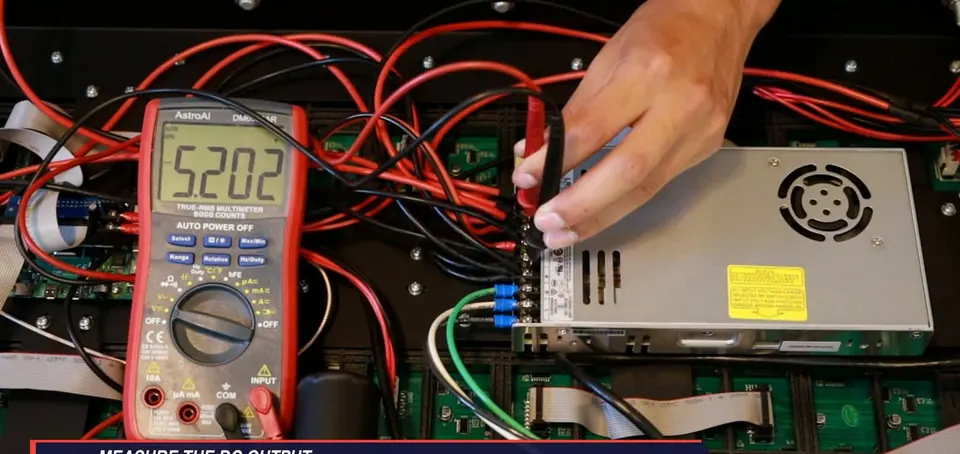
Probe the DC output terminals -
Place the black probe on a negative DC output terminal.
-
Read the voltage on the multimeter. The display should read approximately 5.2 V.
-
If adjustment is needed, turn the power-supply voltage-adjust control slightly left or right while watching the meter.
-
Confirm a reading of approximately 5.2 V before removing the probes.
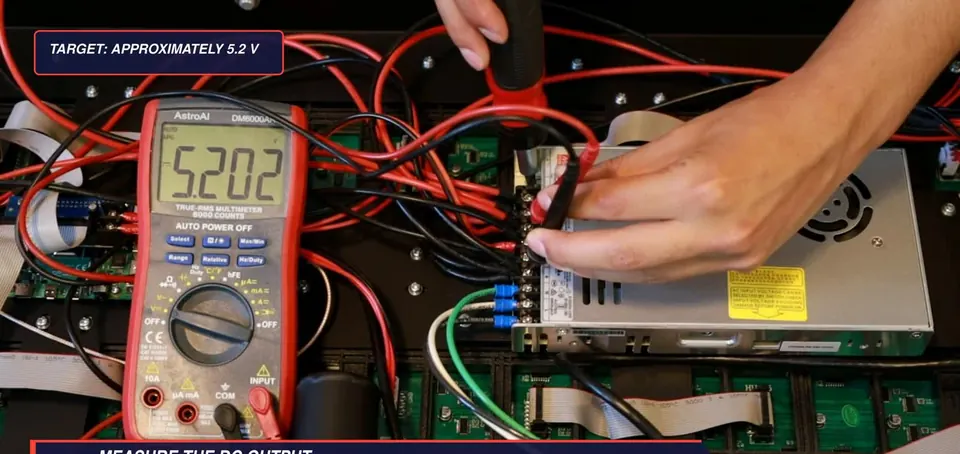
Confirm approximately 5.2 V
Important
- Keep fingers behind the insulated probe guards.
- Avoid AC input terminals.
- Target DC output: approximately 5.2 V.
Check when done
The multimeter reads approximately 5.2 V with the probes on the positive and negative DC output terminals. If the voltage cannot be corrected, contact Finished Results Support.
Still not working?
Email support@finishedresults.com. Tell us you completed procedure 11 and what you saw when you checked your work. Replacement parts are ordered the same way.