When to use this
Replace the Pi HAT if it is not supplying power to the Raspberry Pi, resulting in display issues.
Steps
-
Loosen the two terminal screws and remove the black and red power leads from the Pi HAT.
-
Remove the two Pi HAT mounting screws and keep them together.
-
Lift the Pi HAT straight up and off the Raspberry Pi header pins.
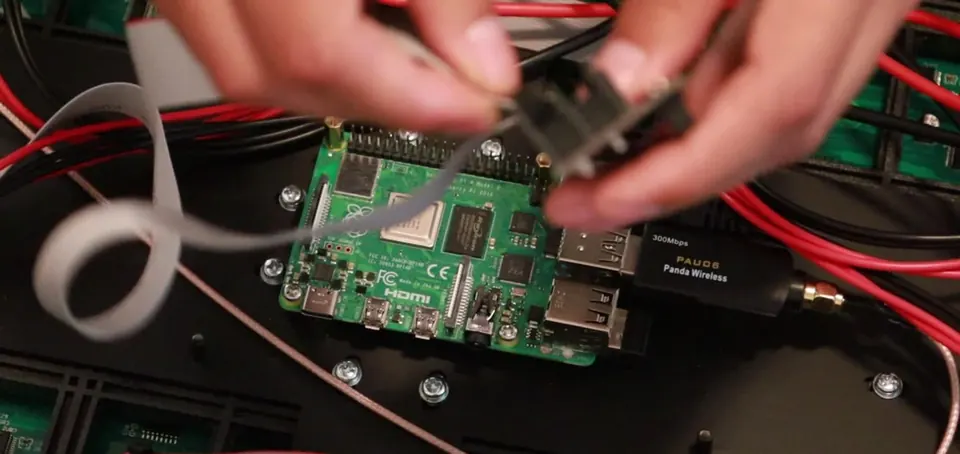
Lift straight off the header pins -
Disconnect both ribbon cables from the Pi HAT.
-
Position the replacement Pi HAT over the Raspberry Pi. Align the header connector with every pin and use the mounting holes as a position check.
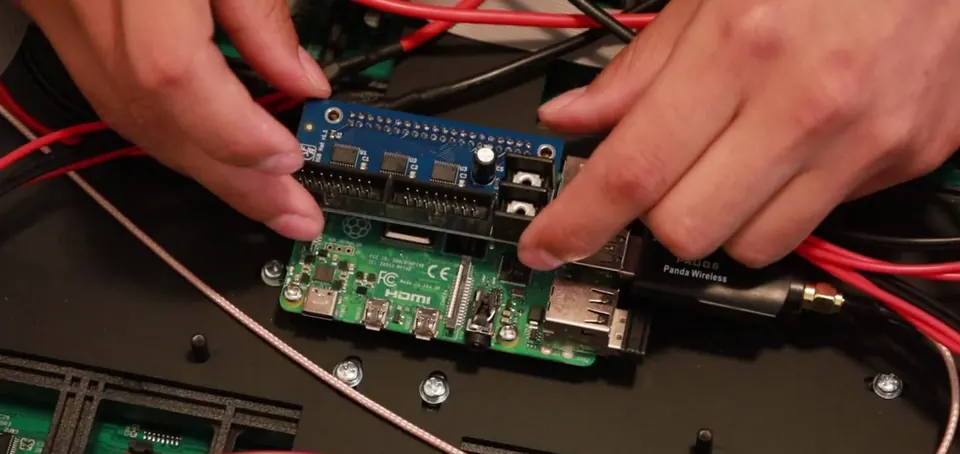
Align every header pin -
Press the Pi HAT down evenly until it is fully seated.
-
Reinstall the two mounting screws and tighten them gently.
-
Connect the red power cable to the terminal labeled +5V. Connect the black power cable to the other terminal screw directly above it. Tighten both terminal screws.
Step 08: Pi HAT power connections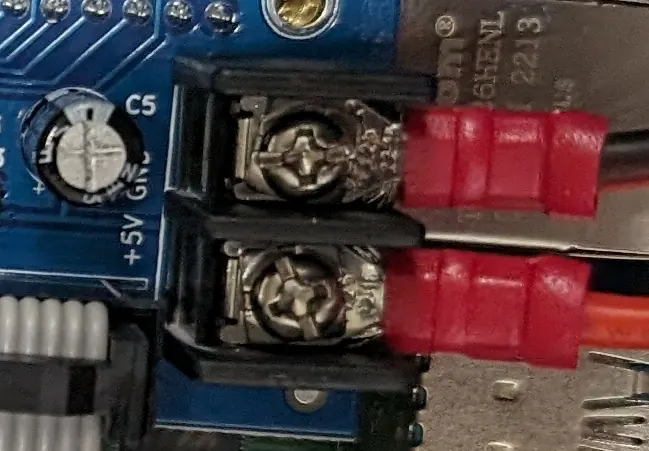
Pi HAT power terminals - Black cable top terminal screw
- Red cable +5V
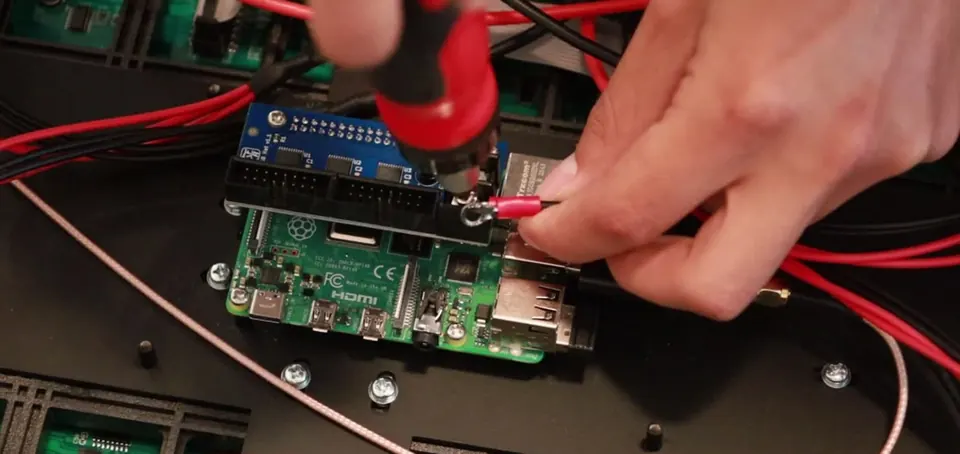
Restore power-lead polarity -
Verify polarity, then reconnect both ribbon cables to their original connectors until fully seated.
Important
- Black cable: top terminal screw.
- Red cable: lower terminal labeled +5V.
- Reversed polarity may damage the Pi HAT.
Check when done
The Pi HAT is level and fully seated on all header pins, both screws are secure, polarity is correct, and both ribbon cables are fully seated.
Still not working?
Email support@finishedresults.com. Tell us you completed procedure 06 and what you saw when you checked your work. Replacement parts are ordered the same way.