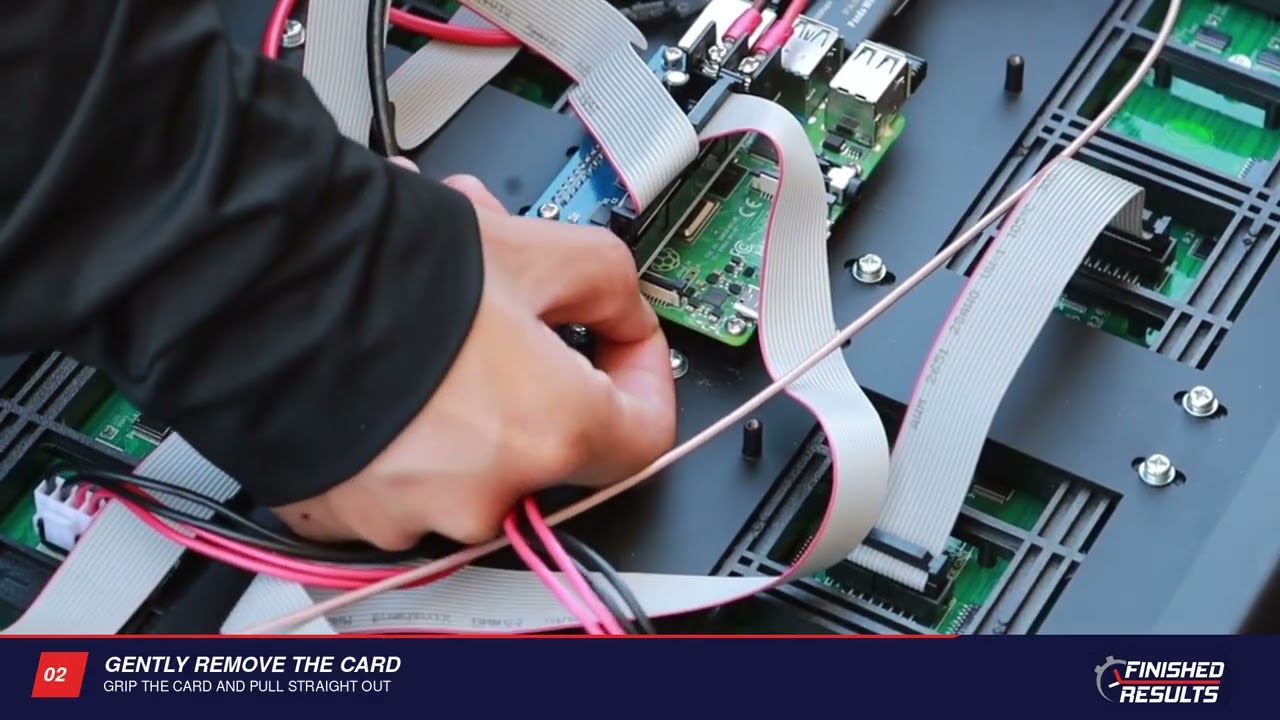
When to use this
Follow this procedure if the clock does not boot and the Raspberry Pi shows no indicator lights.
Steps
-
Locate the MicroSD card underneath the Raspberry Pi. Access may be limited.
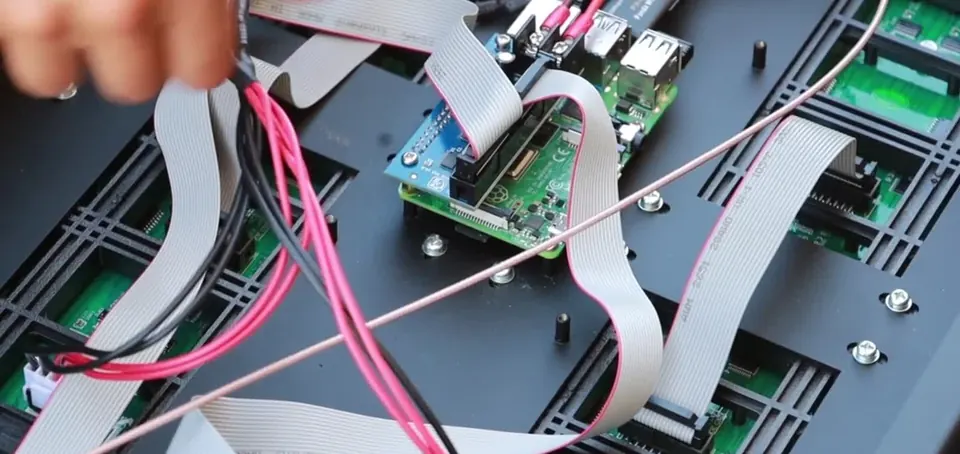
Card location beneath the Raspberry Pi -
Carefully grip the exposed edge of the card.
-
Gently pull the card straight out of the slot. Adjust your grip as needed and take your time.
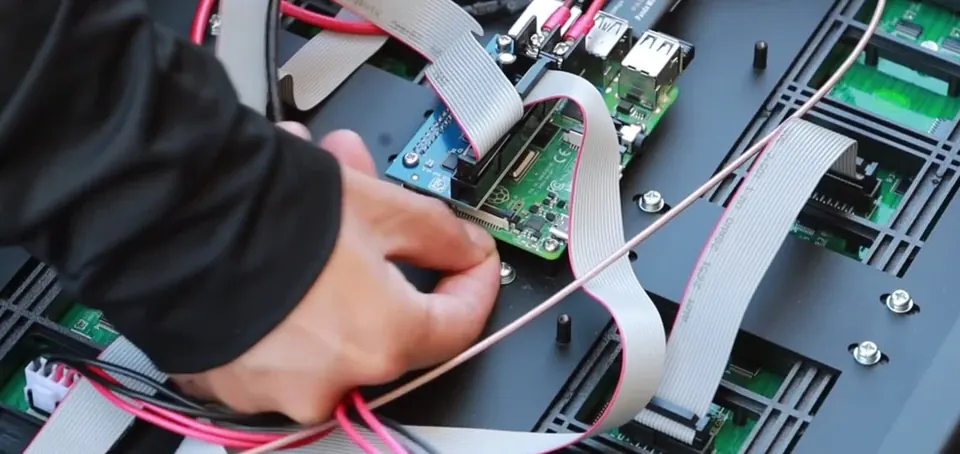
Straight-out removal -
Note the orientation of the original card before it is fully removed.
-
Position the replacement MicroSD card in the same orientation as the original.
-
Slide the replacement into the same slot until it is fully inserted.
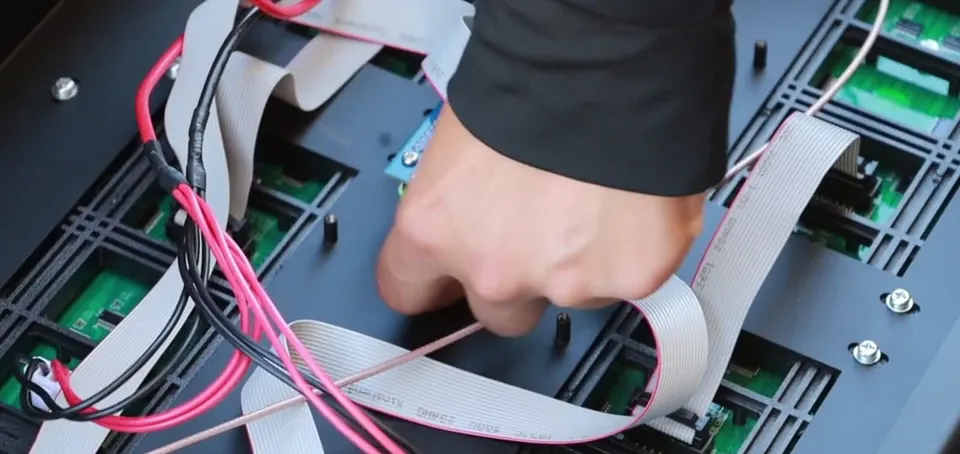
Replacement insertion
Important
- Pull the card straight out.
- Match the original orientation.
- Do not force the replacement into the slot.
Check when done
The replacement MicroSD card is fully inserted in the slot beneath the Raspberry Pi and matches the original orientation.
Still not working?
Email support@finishedresults.com. Tell us you completed procedure 04 and what you saw when you checked your work. Replacement parts are ordered the same way.